Sunday, July 17, 2016

A Week at Camp Create

Camp Create was a week-long bonanza of fun over at the My Favorite Things blog. Each day last week they showcased a different technique and invited us "campers" to play along. I learned a few new techniques during my week at camp. So here you go... enjoy!

Day 1 was "Fantastic Foiling" - I have a Minc machine, but opted to used some foil paper for my background instead.


Day 2 was "Coloring on Kraft" - and I had never done that before! So this was a great new technique that I learned.


Day 3 was "Inlaid Made Easy" - and this is another technique I had never done. I will definitely be using this again.


Day 4 was "Magnificent Masking" - this is a fun way to use your background dies!


Day 5 was "Background Bonanza" - and I absolutely loved the coloring that Francine did on her card. She is a true talent!!


Thursday, June 30, 2016

Under the wire!


I was inspired to get a card in the for the last SugarPea challenge, the Mix It Up #5, so here it is. This set is called Quackers, and it has a matching die set. So cute!

To do this card, I diecut the ducks out, and then placed them on a sheet of acetate that I had sandwiched between two layers of a framed drop-pennant. I also stamped the ducks on the acetate with Stazon before I glued them on so the little rings of water showed up. (I apologize for the photo - does not show the colors and acetate off well :-(   )

More SugarPea fun


I am so enjoying using my new SugarPea stamps, especially the set that this stamp came in. It's called Talk is Chic and I got it for free with my last purchase! SugarPea has a great incentive program that earns you free stamps,  so check them out!

This card goes into their week 2 challenge - Mix it Up #2

Wednesday, June 29, 2016

Practicing my Copic coloring


I had so much fun making my coffee card, I decided to continue practicing my Copic coloring to make a card for the SugarPea Designs Weekly Challenge #4.

I took a Copic class a long time ago, and am quite out of practice. So any chance to use them now is welcome. The stamp set I used is by SugarPea and it's called Hot Diggity Dog.

Monday, June 27, 2016

Coffee... how I love thee!

I saw a challenge for coffee lovers a bit ago, and although I missed the deadline for that one, I decided to make a coffee-themed card for the SugarPea designs MixItUp Challenge #3 for June.


I used SugarPea's Caffeine Addict stamp set and also their Coffee Words diecut. I couldn't agree with this sentiment any more... as a matter of fact, it's time for a cuppa right now :-)

Sunday, November 8, 2015

Loving Pan Pastels!

I recently picked up a few sets of Pan Pastels to work with. I literally knew nothing about them until I kept seeing them used by a couple of designers whose blogs I follow. I am always up for trying a new product, so I made the investment in several sets, and have had some nice results with them.

An artist I am not, so it is fun to play with different techniques with these super soft colors. And the best thing about them - if you mess up, you can erase them!!!

Here is a sweet card I made using Pan Pastels for the background, as well as the hay bales and the straw stuffing.


This is another die by Elizabeth Craft Designs and the stamp is from Hero Arts.

I am entering this in the following online challenges.


Wednesday, October 28, 2015

Guest Designing at Frilly and Funkie

After my last blog post, which featured a card I made for my mom's birthday, I had a wonderful surprise come my way. My project was chosen as the favorite by the wonderful team over at Frilly and Funkie, and earned me a chance to be Guest Designer!!


I am so excited to have the chance to do a project for these wonderful people, and the theme for the challenge is "Something Wicked." I do hope you'll join the party for a chance to win a $25 gift certificate to the Frilly and Funky online boutique and/or earn a guest DT spot.

I am particularly eager to have this theme, because with the downsizing that I did in my recent move, one theme of the supplies I held onto was Halloween. I enjoy doing Halloween cards, canvases, 3d boxes, popups, etc. I love the colors of this holiday - orange, black, green and purple; the critters - bats, owls, cats, and props - coffins, candelabras, and skeletons. So this challenge is right up my alley.

I had just done a card, so I wanted something different. What to do, what to do... Rifling through my dies, I came across Elizabeth Craft Designs Rose 1 (#997), designed by Susan Tierney-Cockburn. So I decided to do... wait for it... black roses!! Very spooky!! So I set out make a bouquet of creepy black roses any "ghoul" would love to get.

I die cut the petals and leaves from black card stock and using the leaf and ball stylus tools, worked the fibers of the paper to be able to form the flowers. As you can see, I cut a lot of petals and leaves. After shaping each individual petal, I formed the flowers - enough for a lovely bouquet. I painted some flower stems black, and adhered the leaves to the stems. I used Tarnished Silver Distress Paint to highlight the petals of the roses, and gray PanPastel to shadow the leaves.


Once I had my bouquet done, I needed something to hold the flowers. I settled on making a vintage-y looking vase using Krylon's Looking Glass spray paint. This stuff is tricky, as you have to spray the opposite side of the glass to get the mirror-like finish. My chosen vase had a very narrow neck, but I made it work by spraying the paint down the neck and swirling it around the inside. Several coats are needed to achieve the finish, but it dries quickly.


A Graphic 45 label from their Steampunk Spells collection (which coincidentally had "Thorn of a Rose" on it), completed the vase. I needed a few more things for my spooky scene: I found this tutorial for a coffin, shading it with more gray PanPastel, and added a Dollar Tree owl and a skeleton head from my stash, along with some Tim Holtz diecuts.


 I hope you enjoy my version of "Something Wicked," and that you join in the fun on this challenge.

Saturday, October 3, 2015

Back in the craft room

Here we are in early October and thoughts turn to fall. Having moved from NY to SC, that didn't change, as we are in the midst of Hurricane Joaquin and the cold wind  and rain remind me of NY. But not to worry, we will be back in the mid-70's next week.

Having unpacked many boxes in the last 3 months, there were only a few possessions more dear than my craft supplies! I had to scale back a bit, as my new craft space is half the size of my old. But I hung on to my dear favorites, along with some new, easy on the storage space, ones.

So let's get to a project that I worked on this week with some of those new supplies. Specifically, my Elizabeth Craft dies. These are a comprehensive collection of wafer thin dies, with coordinating stamps, glitter, stickers, adhesives, etc. Today I am showcasing a die in the Susan's Garden collection by Elizabeth Craft - it's #1019, Geranium.


I made a birthday card for my mom, who loves geraniums. I used some Stampin' Up! chalkboard paper for the background. I took Wendy Vecchi's brick stencil and rubbed some light green chalk though the stencil. I didn't want the chalk to rub off, so I sprayed it lightly with some Mod Podge Matte spray to seal it.

I used one of Wendy's Mat Minis Flower Pots for the pot, embossed with some Orange Blossom and Frosted Crystal custom mixed powder.

The Geranium die, like all Elizabeth Craft dies, cuts like butter in my Vagabond. The die includes two sizes of leaves, two sizes of petals, calyx, buds and base pieces. I used some SU Old Olive paper for the leaves and stems, and some Tim Holtz craft core paper for the flower. The sentiment was from SU's Petite Pairs stamp set.

I lost my progression pictures, so all I have is the finished project and a shot of the die. Enjoy!


I am entering this in the following challenges:

Frilly and Funky: Chalk It Up!


Wednesday, November 12, 2014

It's been awhile....

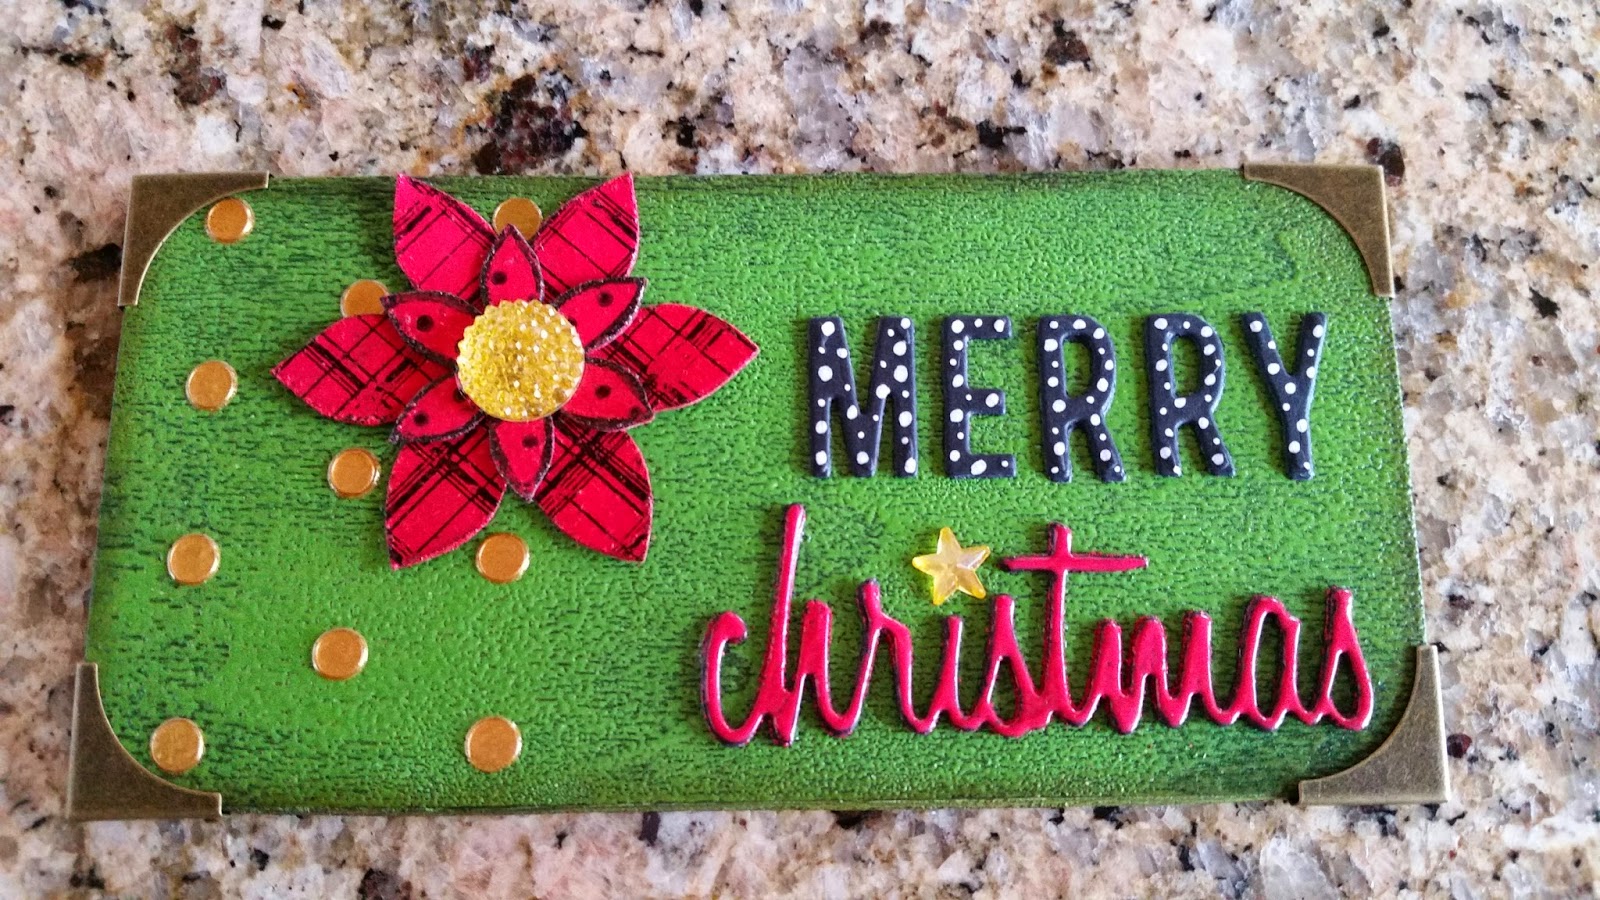
Whew, it HAS been awhile since I've posted. And there's no better time to get back here with some projects than now, fall going into winter! I love fall colors and I love Christmas, so I'm here today with a Christmas project inspired by Wendy Vecchi!!

Frilly and Funkie is having a Wendy Vecchi-inspired challenge, and as I have been playing around a lot with Wendy's new embossing powders, here is my take on it:


It's the transformation of a plain little wooden plaque into a lovely door hanger! (or it will be once I add the screw eyes and ribbon).

I had fun making this and I hope you like it!

PS - here's the finished hanger. The wood was uber-thin, so doing doing screw eyes through the top edge didn't work. So I opted for holes through the board.


Thursday, October 10, 2013

CC102 - Day 4

Awhile back I "attended" an Online Card Class that Tim Holtz had put together entitled Creative Chemistry 101. Well, he's back with the second installment, Creative Chemistry 102 (CC102). I love learning new techniques, and I love getting inky, so of course I signed up. What's nice about the Online Card Classes is that once you pay your tuition, you have lifetime access to the class, files, videos, etc. And if you participate during when the class is what I'll call "live", you can ask questions and interact with others taking the course. FUN!
 
We are not allowed to discuss the whys and wherefores of each days lesson, so I can simply post my creations and tell you what the technique is called. So here goes...


Tinted Tinsel


One thing to notice on this tag is that I colorized the leaf after having stamped it on acetate.


Faux Patina


Ombre (an hombre for Ombre, heheh)


Monoprint


Faded Layers (this one's for you Wendy Vecchi!!!!!)


Wednesday, October 2, 2013

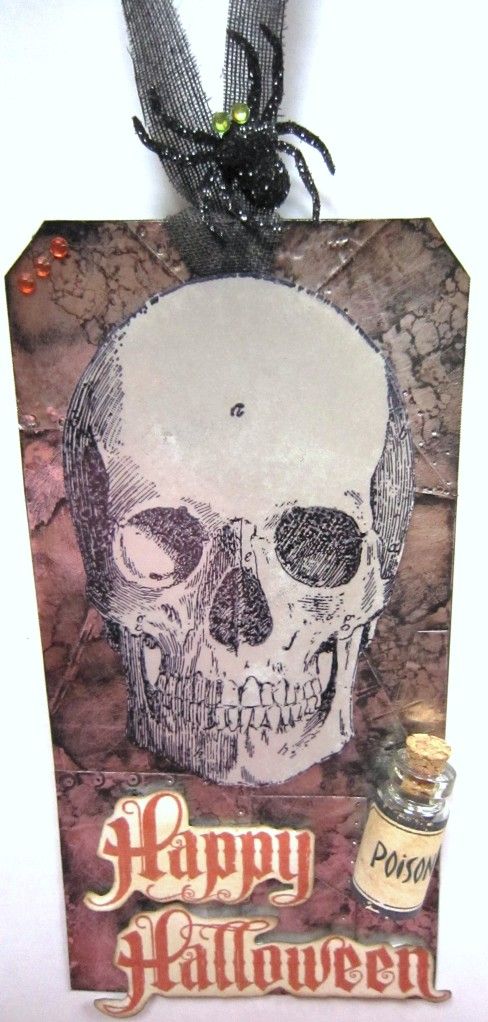
Tim for Halloween!

 
This is my fav time of year for papercrafting! I love the fall colors and it's time for Halloween, too!
This tag was done following - to a point - Tim Holtz's direction for his Oct tag. I am still struggling to master using his Distress paints. It's getting better, though, and I have come to the conclusion that I use too much - less is more with them. I look forward to using them more and posting some more spooky goodness in the near future!

Friday, September 13, 2013

Got some ink on my fingers.........


..... trying a new technique! The technique is called "Faux Leather" and I had come across it on Shelly Hickox's blog while rummaging around the 'net last week. Now I had always REALLY wanted Tim's globe die, so this was the perfect opportunity to pick it up (as in buy) and use it!!!


I was amazed at how a simple, plain old brown paper bag could turn into something that looks like leather!! It was fun to follow Shelly's tutorial and get extremely inky, as when you adhere the inked up paper to make the cover, you really have to use your fingers to work the Glue and Seal (or Multi Medium) into the cracks. Fun!
 
 
I forgot (despite having a tutorial to follow, lol) to adhere the ring binder to the book before I added the inked paper. (This would then cover up the brads you use to attach it) So I instead had to fashion a book of pages of sorts. I came up with my sheet size and then by scoring the pages and glueing them together, I got ten pages.


I left some pages blank to add pictures and journaling to, then there are other that have pockets of all shapes and sizes to add keepsakes and ephemera to. A lovely little travel journal!!! And a new technique - Faux Leather - to add to my arsenal.
 
 
My friend Kay posted a challenge she entered, by Stampotique, entitled "Try a new technique." So I will enter this in their challenge no. 116. How coincidental is that?


Wednesday, March 20, 2013

Happy First Day Of Spring!

Haha, now that is a joke, because yesterday we had a bleepin' storm come through with snow, sleet, snow, rain, ice, snow, etc., etc. Phooey! Today is blustery and not what I want out of the Vernal Equinox at all.
Anywho, I have been absent from blogging for awhile - I wa actually surprised this is my first post for 2013! I have been busy horseshowing - got to Tampa, FL in early January, and then St. Louis, MO earlier this month. Still learning the buttons on my new guy, but it has been fun!
Also, we finally got the plans for the new garage, so we will be moving forward with rebuilding if and when winter ever decides to let go...
 
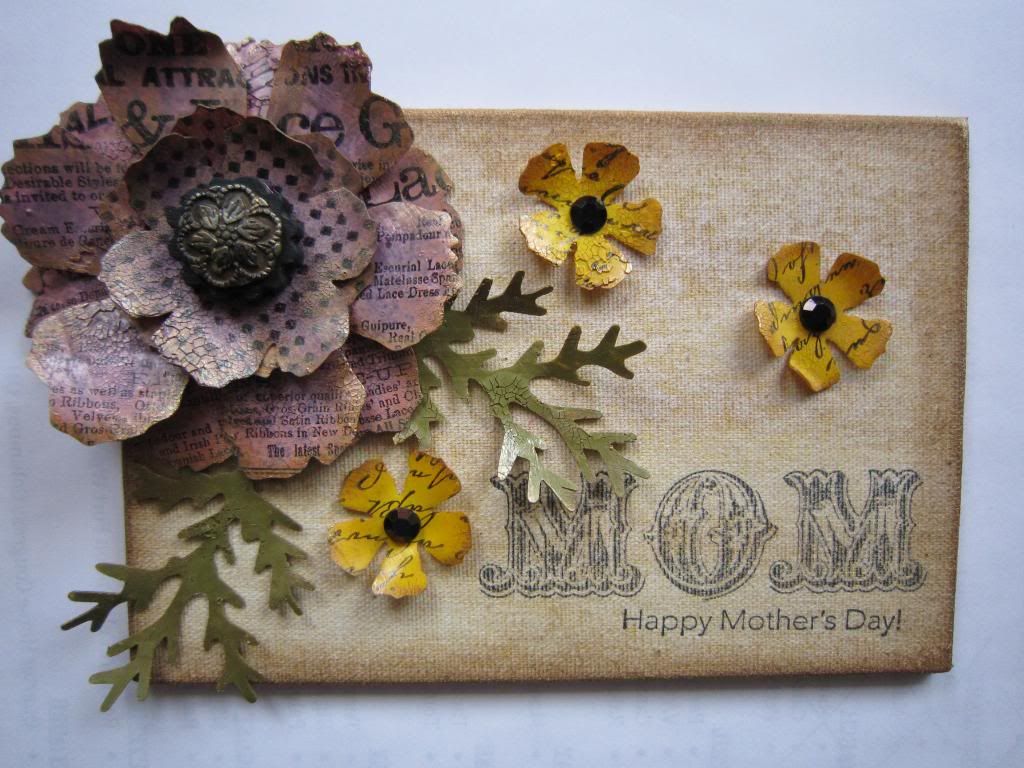
Ok, so for today, I was inspired by Tim Holtz and Wendy Vecchi for this project. Tim is running a Tattered Floral Challenge this month, and as I had received my full set of the new Distress Paints awhile back and hadn't used them yet, I decided to break them out. I remembered Wendy had mentioned using the paints on her Cleary For Art in one of Tim's CHA videos, so I checked out her blog and she had some pretty cool applications for it.
 
So, inspired by Wendy, here is my Tattered Floral project:


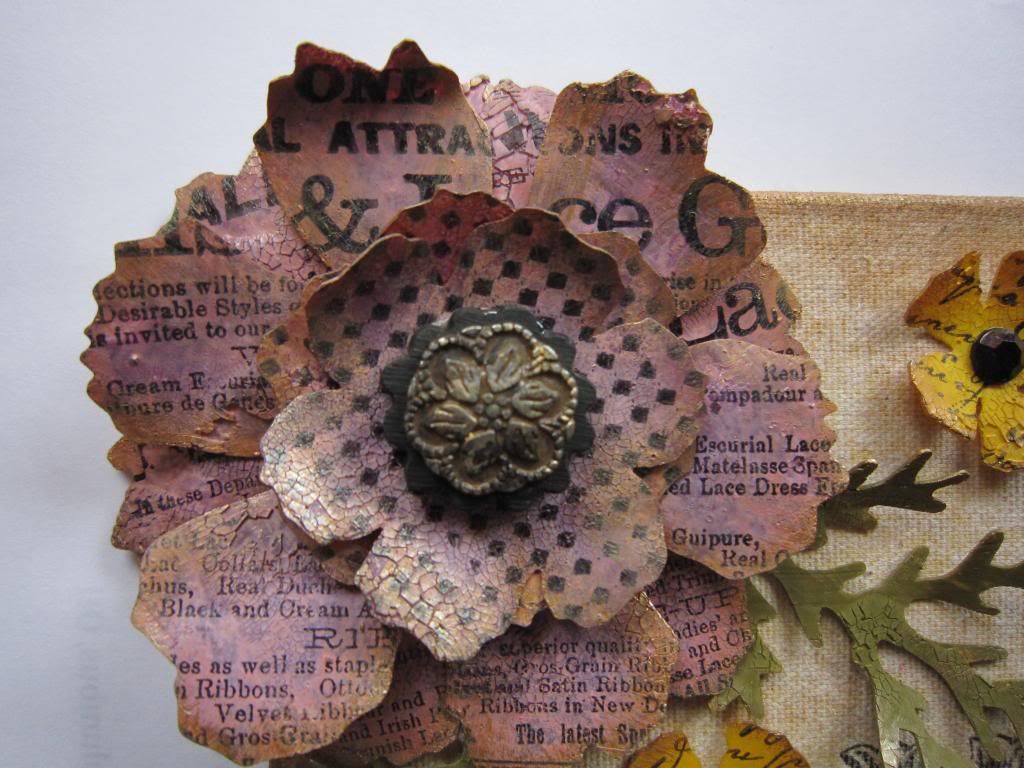
I used the Tattered Floral die for the flowers, the larger of which were cut from CFA that had been painted with both Seedless Preserves and Victorian Velvet. The smaller ones were painted with Mustard Seed. Some overstamping and inking was done also. The leaves were cut from Tim's Tattered Pinecone die and painted with Forest Moss.  The stamp set is from Stampin' Up - it's called Messages for Mom (retired). The panel I made from 3 pieces of 4 x 6 chipboard which I glued together and then covered with Claudine Hellmuth Stick-back Canvas (natural). I stained it with Antique Linen Distress Stain and then inked the edges in Vintage Photo and edged it with gold paint dabber.
 
Here's some more photos:
 

I hope you like it! Cheers 'til next time!

Monday, November 26, 2012

Thankful...

Yes, I am thankful. About a month ago, we had a terrible fire that burned our garage to the ground. The fire took the building and all four of our vehicles. Thankfully - no one was hurt. Thankfully - the firemen saved the house. Thankfully - we were insured. Thankfully - we can replace the "stuff." So yes, today, one month and one day later, I am thankful!

One thing that has gotten me through the pain of it all has been crafting. There were days that I picked a tutorial and just followed the steps through to completion. If it took me a day, great, because my mind was just so scattered elsewise. I have been wading through paperwork and phone calls and internet car-shopping (yep!), so the relief I found in creating cards, tags and art (love my Art Parts) was palpable. Now that things are settling down, I can breathe a bit again. But there is still art to be made!!


Here is a tag I made for Tim Holtz's monthly tag (Twelve tags of 2012). I didn't have some of the stamps n stuff he used -- I still need to resist the urge to buy every little supply for a project, lol!! I made do and had fun with this one - it uses a lot of the techniques we learned in CC101. It was nice to bring back old memories.


Wednesday, October 17, 2012

CC2 - Challenge 25


Whew... another week has flown by, but I am happy to say it was a fruitful one. I got my Wednesday Card Club in this week, having finished jury duty last week. Thanks again ladies for a wonderful meeting!! I also got in quite a bit of consecutive time in the craft room - it was very relaxing after the trial and I got to play with some of my new TH goodies.
 
This week we are thankful for SimonSaysStamp, as they are sponsoring the 25th Challenge for Linda over at Studio L3. This week's challenge is a technique found on page 53 of Tim's book. The technique is called "Ink Palette: Perfect Pearls."
 
I love Perfect Pearls, so the chance to create the palette and use them in a new way was intriguing. I was certainly impatient for the colors to dry!! But that gave me a chance to break out my tree die, my mini leaf dies, my new leaf blueprint stamps, and my Shrink Plastic!!
 
I created my background with some fall-colored Distress Stains, including my favorite - Wild Honey. Then I overstamped the oak leaf a few times in Archival ink (Orange, Olive and Coffee). Then I diecut my mini leaves from Shrink Plastic and shrunk them with a heat tool. After they were shrunk, I colored them with alcohol inks. I die cut the branch tree and used the woodgrain texture fade with some clear embossing powder. I then colored it with my new palette. Sweet!!
 
Here's another photo (I think with the flash on):
 
 
So there you have it. I had fun with this one and now off to tackle another crafty project!
 
I am entering this in the following challenges:


Thursday, October 4, 2012

CC2 - Challenge 23

 
Simple little submission this week--I have been tied up doing my civic duty for almost three weeks now--more on that at another time--so I haven't had hardly any creative play time of any duration.
 
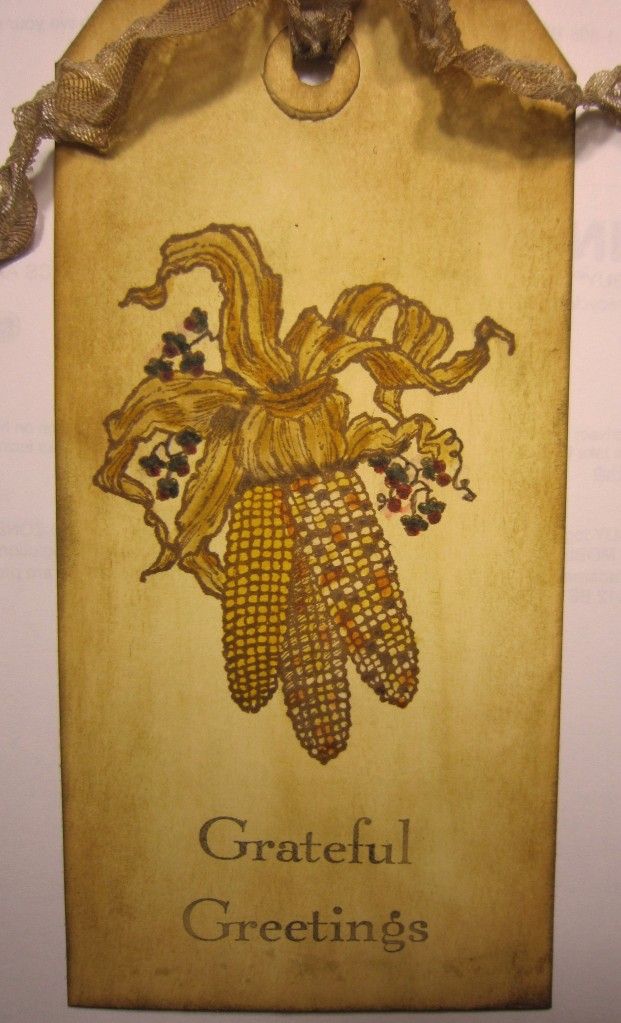
This week the technique, found on page 50 of Tim's book, is called "Distress Markers." I found this Indian Corn stamp (from Serendipity Stamps) in my stash, and the marker technique was perfect for it.  Wish I coulda done more embellishing, but that's the breaks!
 
See ya next week, and thanks, as always, to Linda at Studio L3 for the fun!! I am submitting this to the CC2 Challenge no. 23.

Wednesday, September 26, 2012

CC2 - Challenge no. 22

 
Here's a quickie--my tag for CC2 - Challenge no. 22. This week's challenge is sponsored by Linda at the Funkie Junkie--thanks Linda and good luck with the new website... www.thefunkiejunkie.com (btw - the ribbon on my tag is some of Linda's crinoline that I bought a while back to make flowers--the crinoline is wonderful to work with and takes stain well!!)
 
Gotta go, so see yas next week!!!

Thursday, September 20, 2012

CC2 - Challenge 21

 
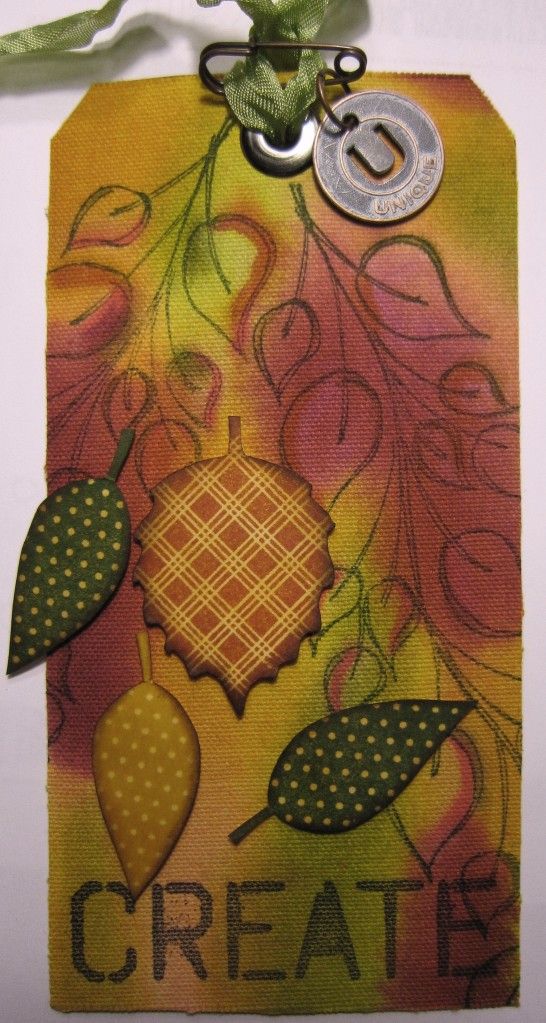
Here's a technique called "Blended Stains", which is found on page 45 of Tim's delightful book. I chose to use sticky-back canvas for my surface, and boy do you need a lot (read ALOT) of water to get the stains to blend on it. Once I had that figured out, I managed to come out with a decent blend. (I still hate my camera by the way--the oranges didn't come out orangy this time).
 
Anyways, I used a few Distress Stains for the background, then some Dyan Reavely leaf stamps, and a Wendy Vecchi phrase stamp. Nothing like spreading the love!!
 
Many thanks to SimonSaysStamp for sponsoring our Challenge this week, and of course more kudos for Linda at L3 for continiung the fun!!

Tuesday, September 11, 2012

Pop 'n Cut Fun!!!

 
Hi all... I just wanted to post a little something NEW here. I had been seeing a new toy being used on the Sizzix blog and once I got my hands on it, I couldn't stop playing with it!! It is a new die from Sizzix called Pop 'n Cuts. There is one base die that you need, then there are several additional dies and Sizzlits you can get that coordinate. It is a line designed by Karen Burniston, and they have been selling like hotcakes!!
 
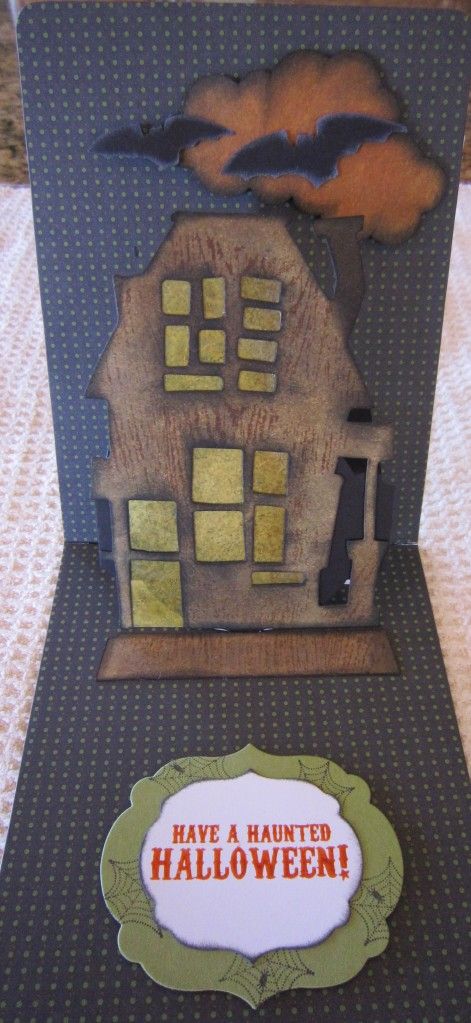
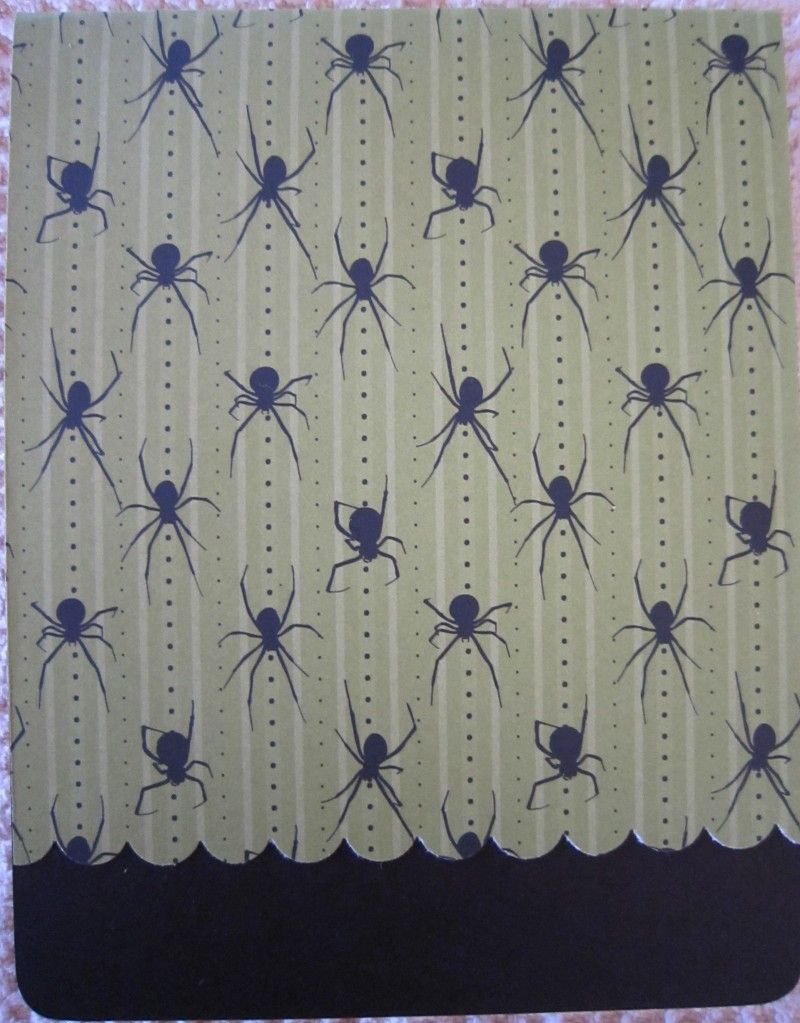
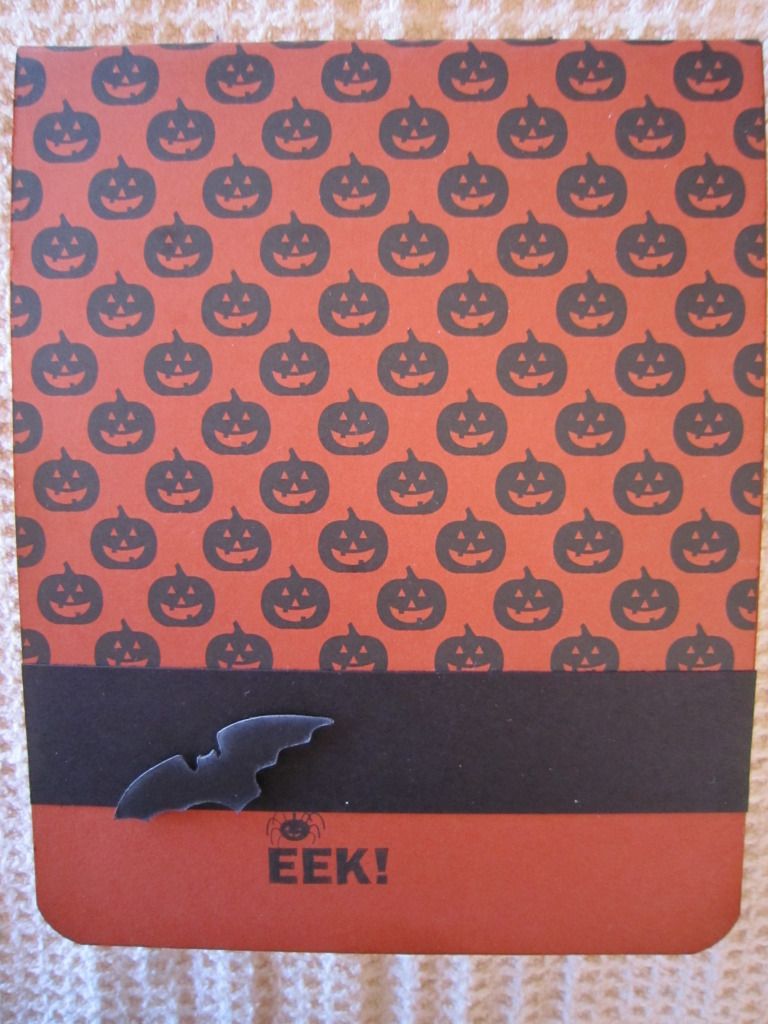
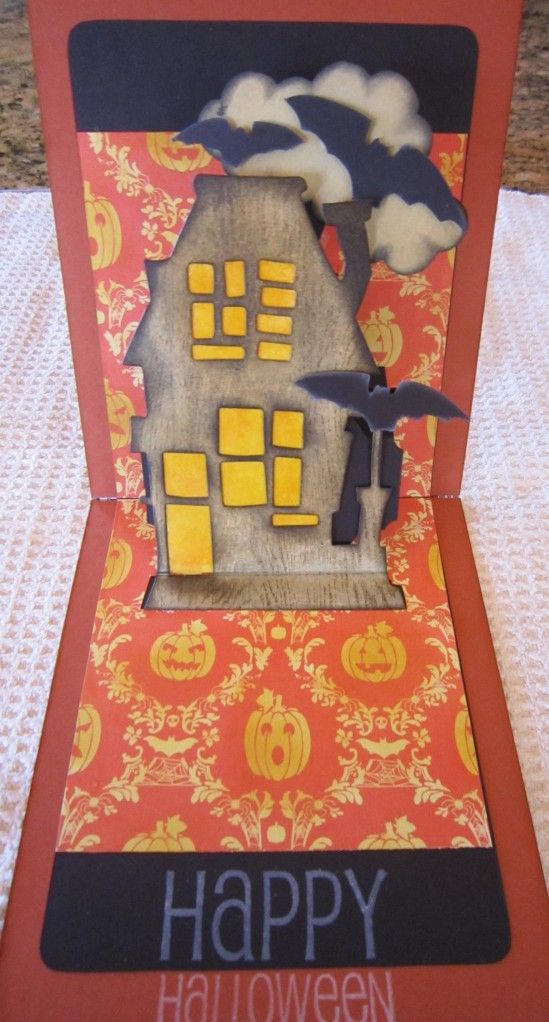
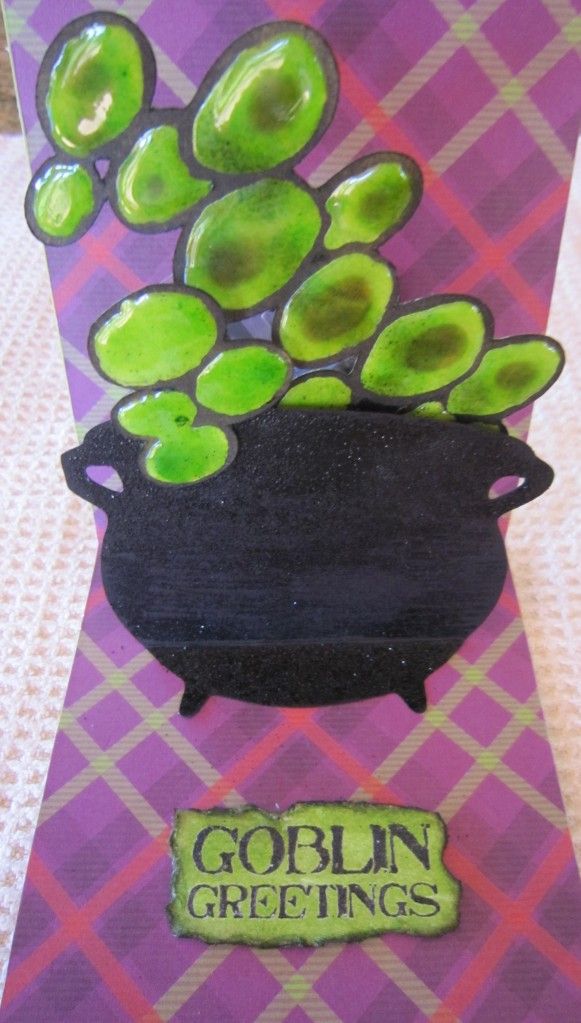
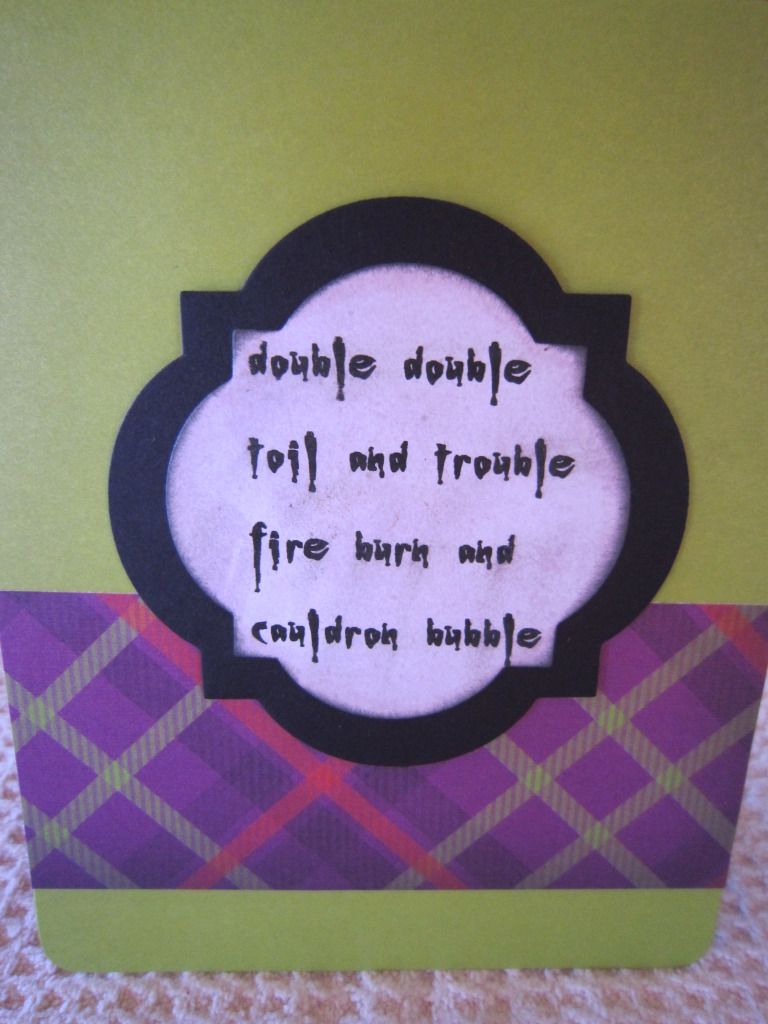
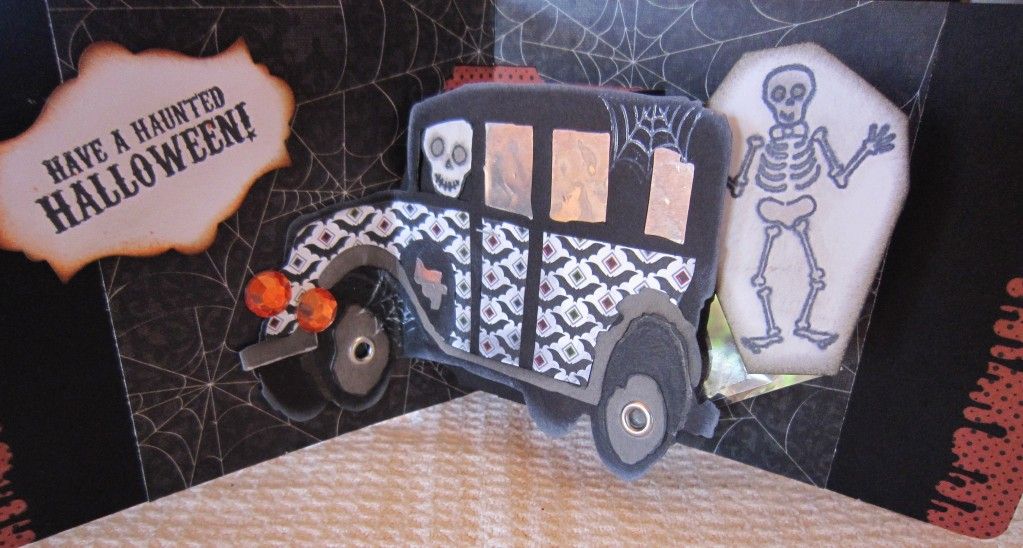
The base die and the additional ones make a pop-up card, and on the Sizzix blog, Karen took it a step further by adding a "spinner" action--what fun! She threw out the challenge to see what we could make that spins. I tried one of her designs first, a spooky hearse, then I jumped on the Halloween theme and came up with a few more. Some spin, some don't, but the spinning thing really had my creative juices flowing. And I even have a few more spinning ideas, lol.
 
Thank you Karen, for your products, your ideas, and your help!
 
Here are some humble pics of my work with more to come...
 
 
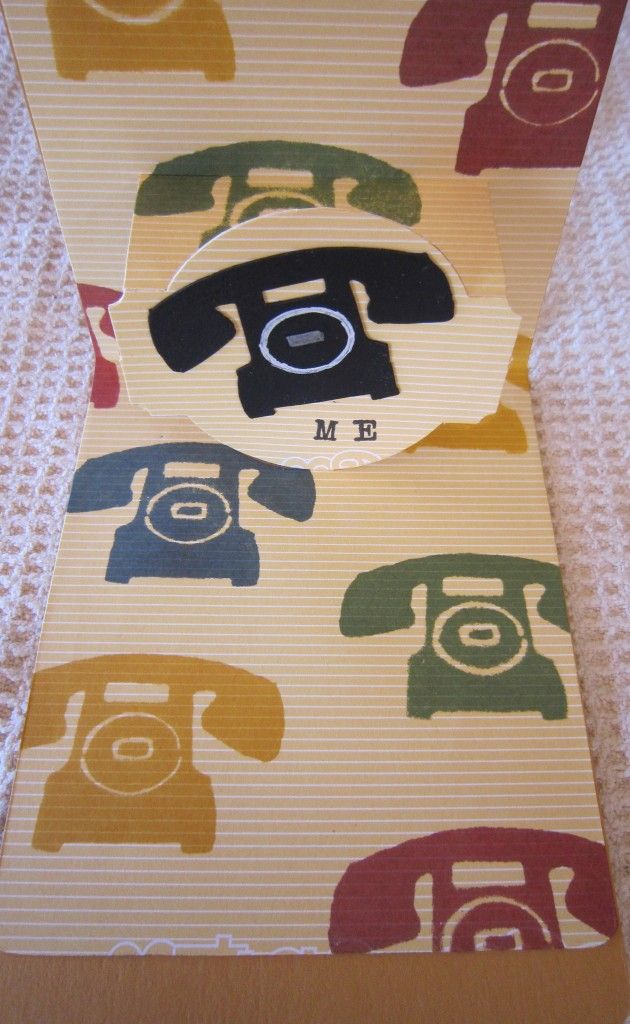
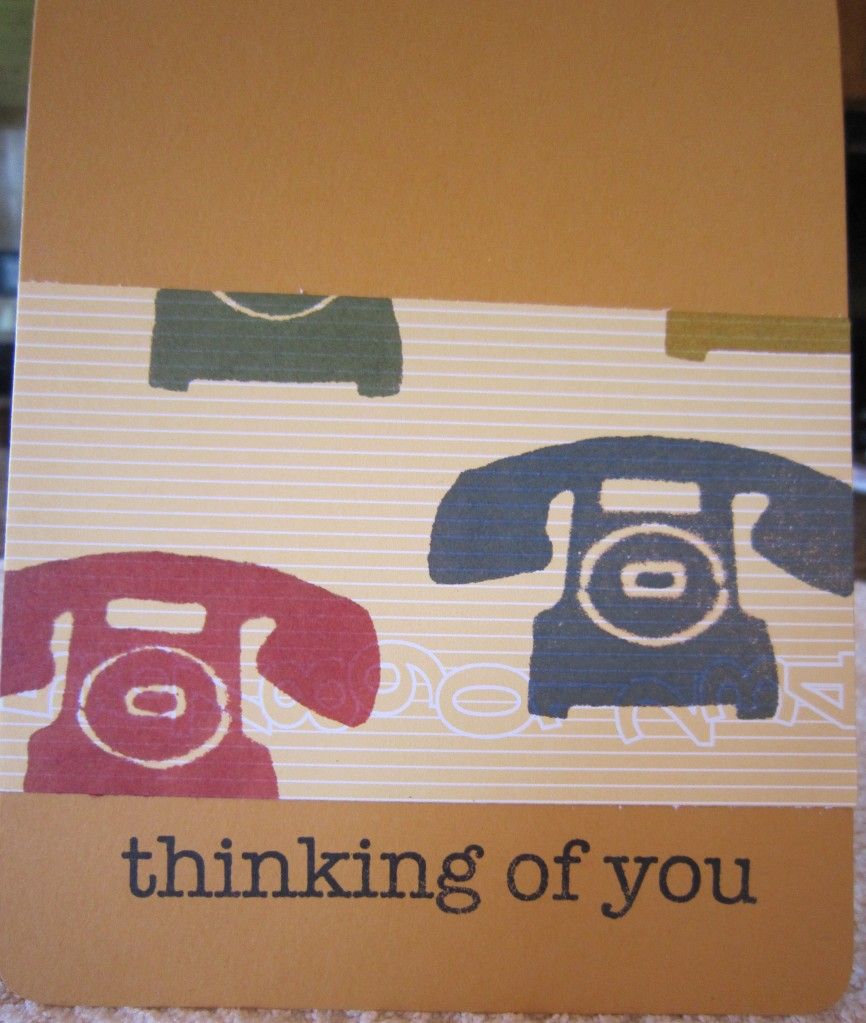
I didn't have phone paper... so I made a phone stamp from Tim Holtz's movers & shapers die using foam and stamped it in various colors.
 

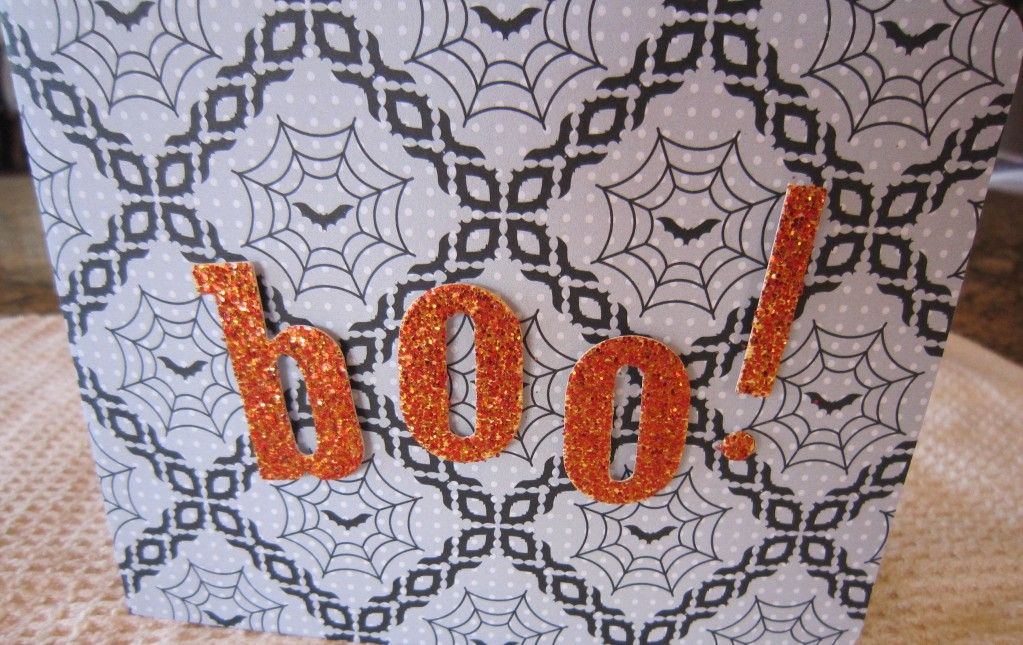
Didn't finish the outside of this one yet, waiting for yet another TH die, the Gothic Boo would look great on the front in black glitter paper, wouldn't it?
 

This first attempt at using the TH Rickety House got large on me... I fixed it in my 2nd attempt above. This one spins with the clouds and bats popping up!
 
This one was fun, the bubbles in the cauldron come "spinning" up!


This is my take on Karen's hearse... the casket comes spinning out behind the car. I used the Martha Stewart drippy goo punch on the edge of the paper. My first try at this one I had everything upside down... the bats on the paper for the car, and the spiders on the front.
 
I do apologize once again for my inadequate photography... See ya next time :-)